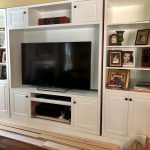
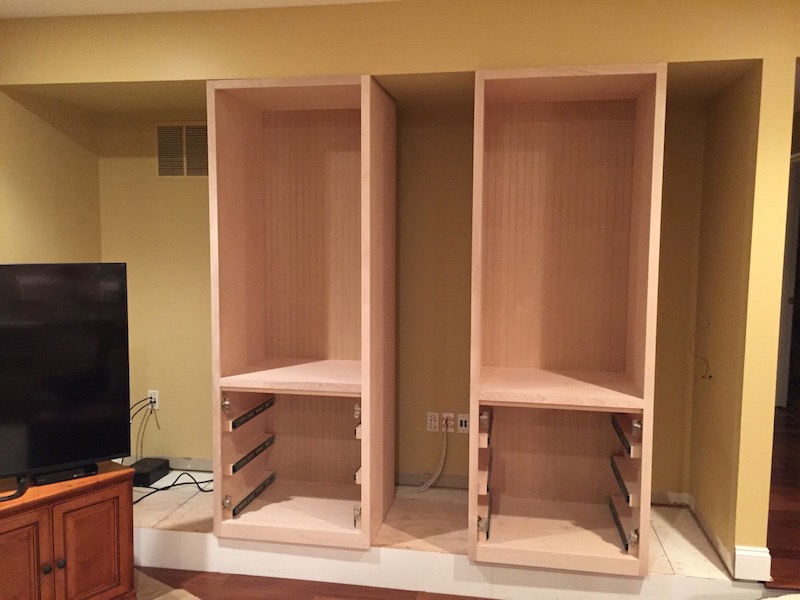
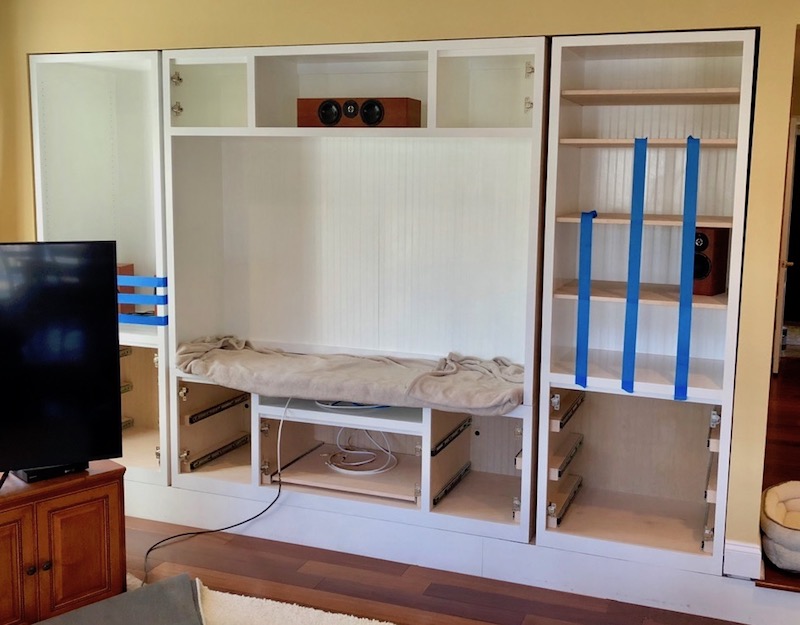
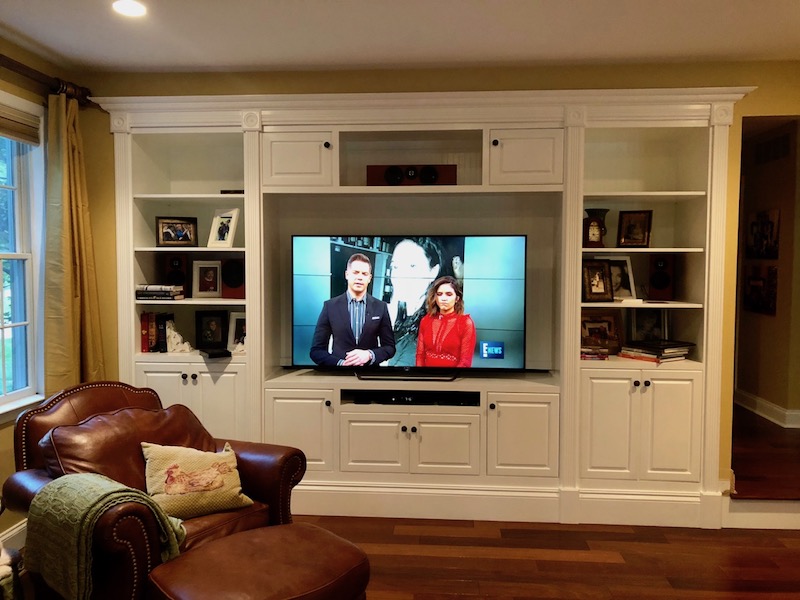
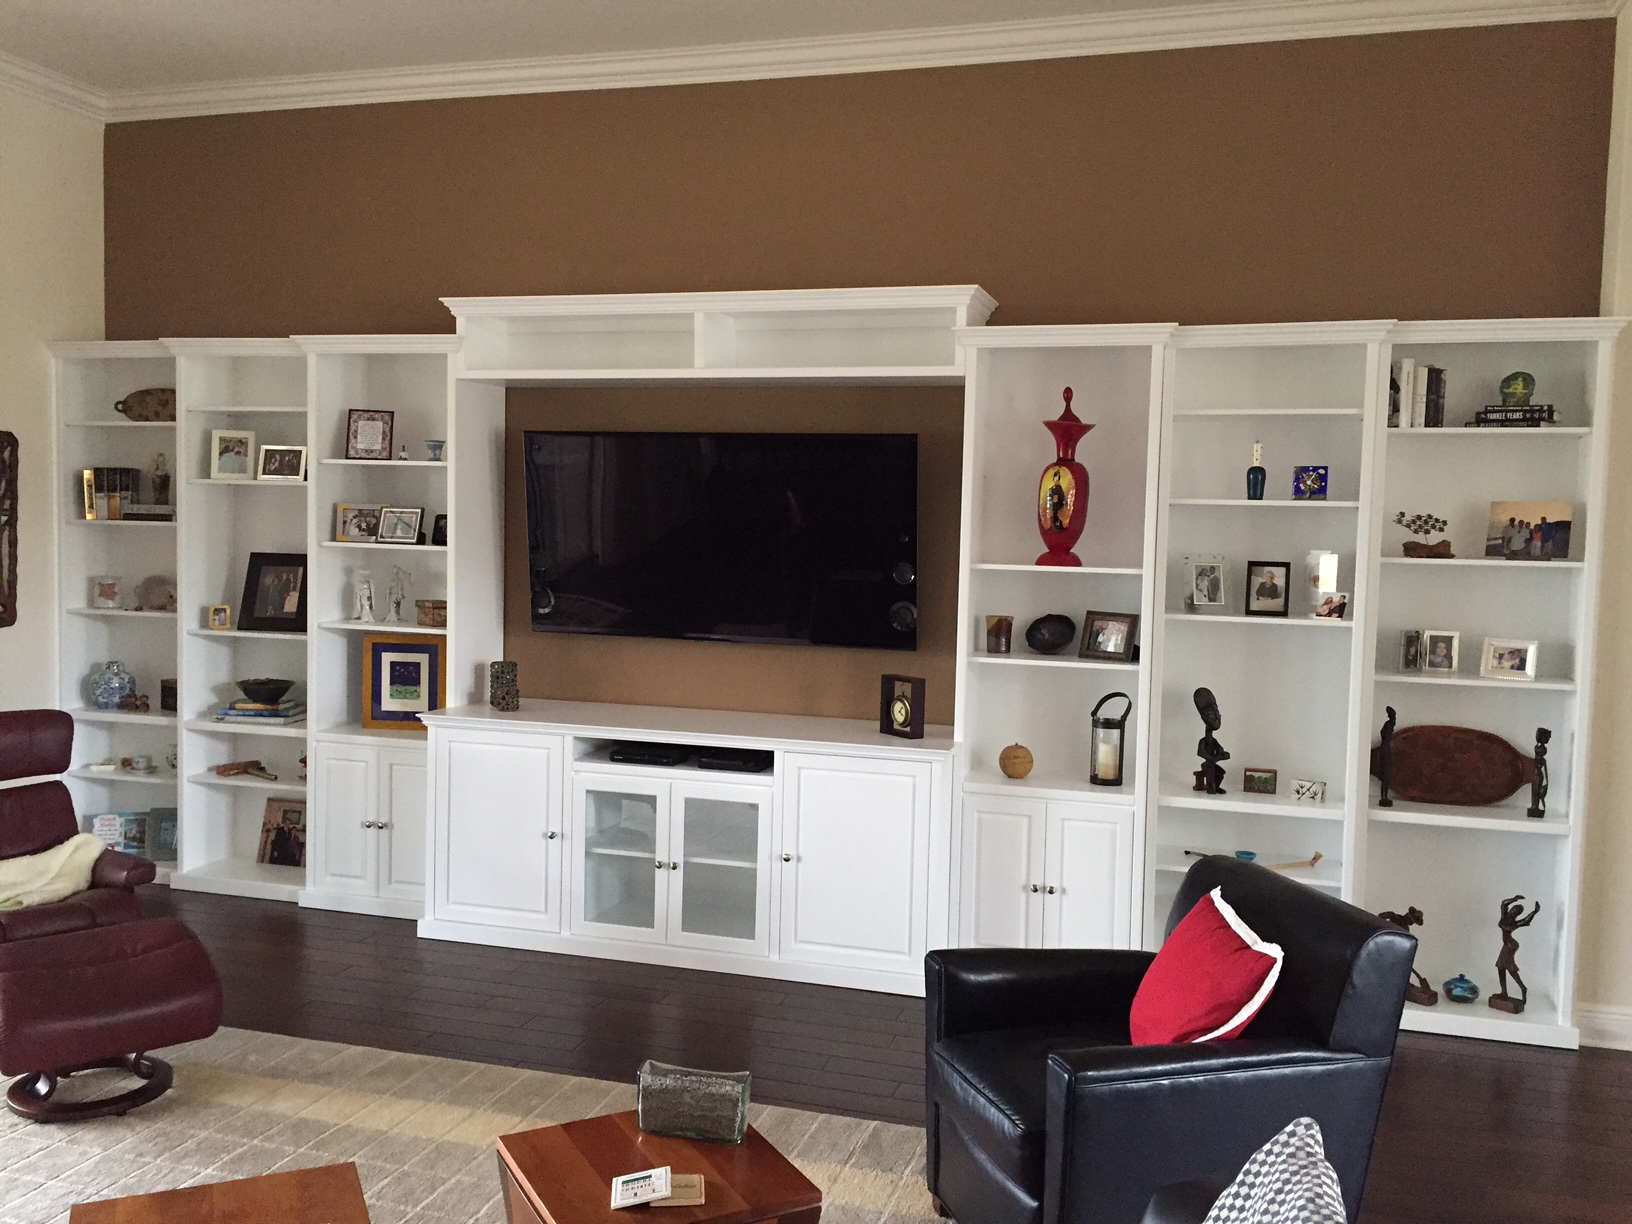
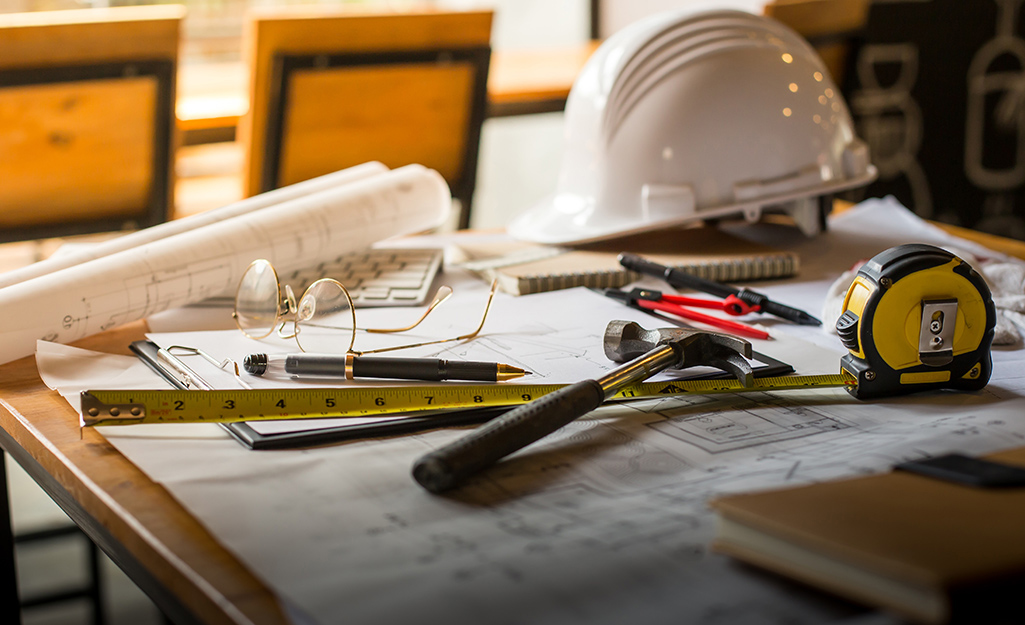
Are you remodeling your kitchen, bathroom, or other rooms with new cabinets or bookcases? Installing them yourself can save money and allow you to spend your money on even better products. If you buy unfinished cabinets and paint or stain them yourself, you can save even more. Here is what you need to get the job done.

Depending on your level of carpentry skills and how many home improvement projects you do, you may already own some of the tools in this list. Not all items will be needed but many will be helpful depending if you are working alone or have assistance.

It is also important for your budget to consider the cost of the needed tools over hiring a professional. If the rate to hire is less than or equal to the cost of new tools, it may be worth it to leave the job to the pros.

Investing in the right tools will enhance the quality of your installation, reduce debris, and save you money. All of which every Do-It-Yourselfer is looking for.
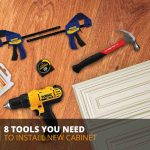
Required Tools


Tool or supply

Purpose/Reason for Tool or Supply
Cabinet claw/clamps A cabinet clamp is a helpful tool that will hold the face frame together securely while you are assembling your cabinet. It also keeps everything in place while screws are installed.
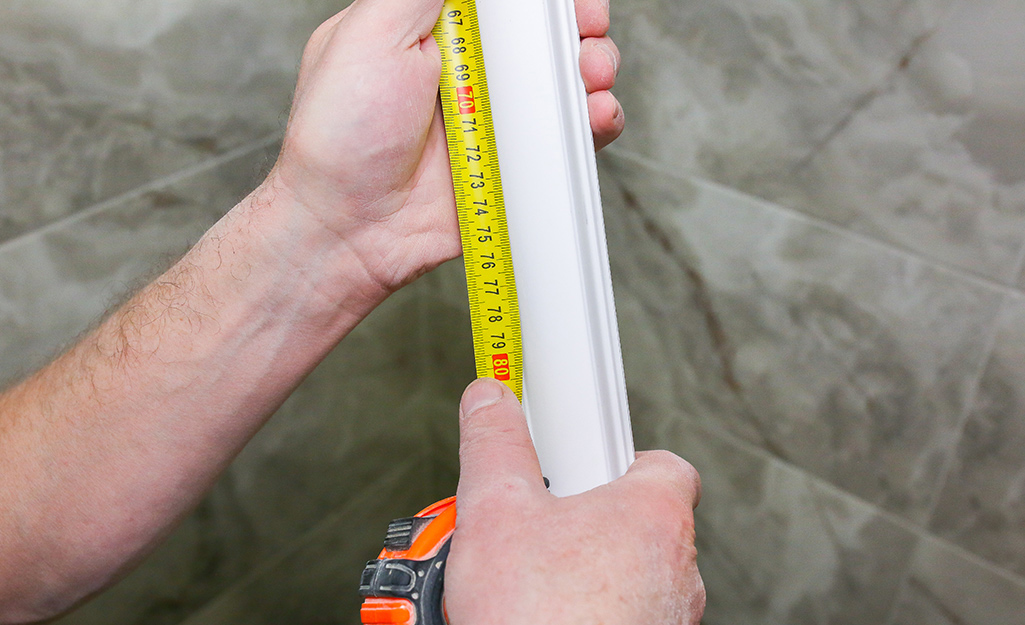
Tape Measure A tape measure will be needed to identify several measurements for your installation including where the cabinets will be hung, openings for appliances, distances between structures, locations of outlets, etc.
Pencil A pencil will be needed to mark measurements taken while installing, and maybe to take notes as you go.
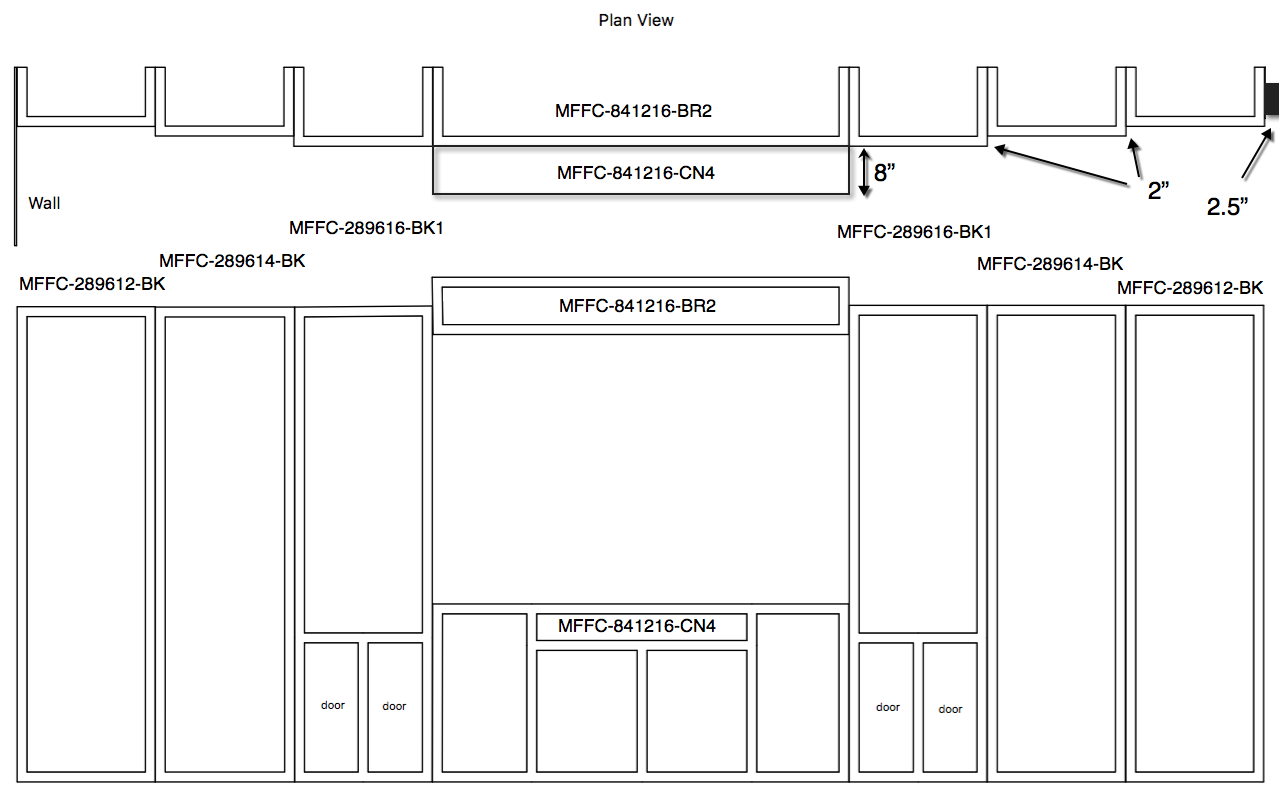
Printed Layout Print your Prime Cabinetry design, provided by our design team, for ease of installation. Having the layout to work from will ensure you remember exactly where each cabinet is meant to be installed while you are working.
Power Drill A power drill is commonly used for assembling cabinets, hanging cabinets, installing knobs and pulls on cabinet doors, etc.
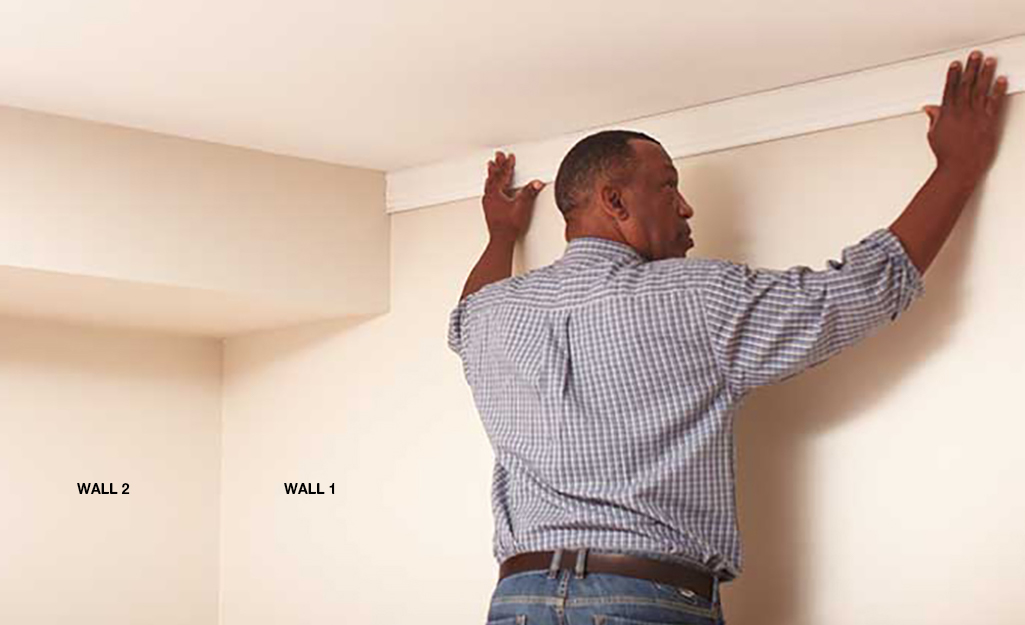
Laser Level or standard 72” level
A level or laser level is a control tool that provides a reference for ensuring your cabinets are perfectly horizontal to the floor. This is needed for countertop installation to run smoothly as well.
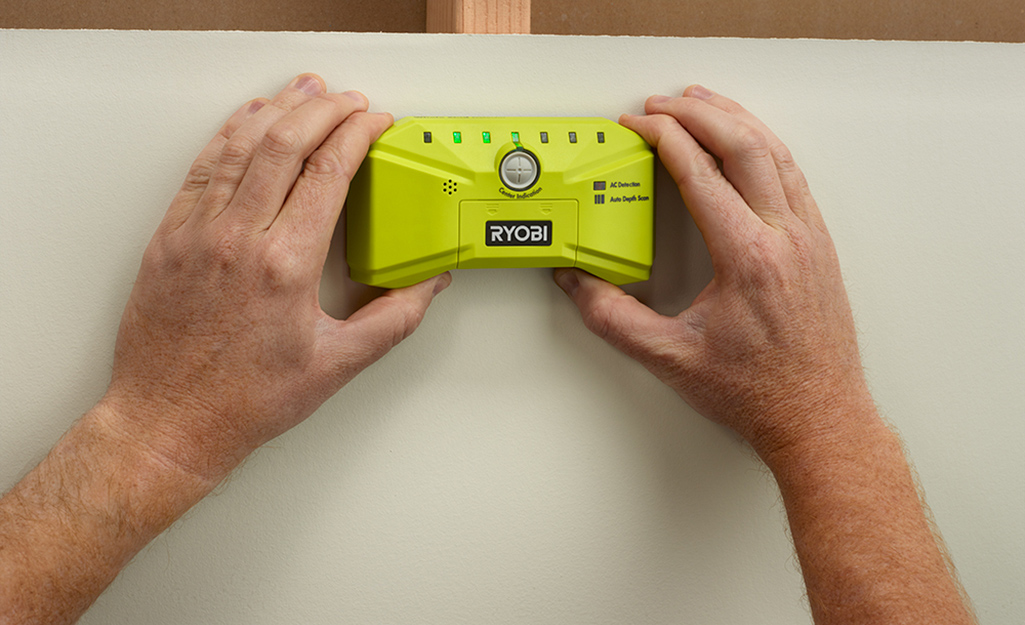
Stud Finder As the name implies, this handheld device helps you locate the framing studs behind the drywall. It can also help you locate plumbing and electric lines in some cases so you avoid running into those.
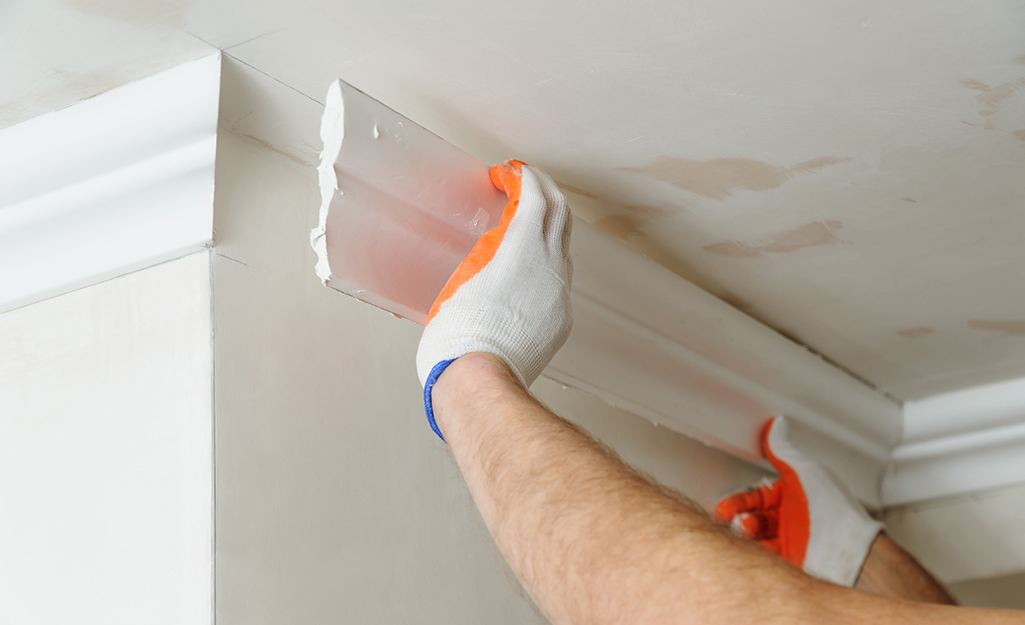
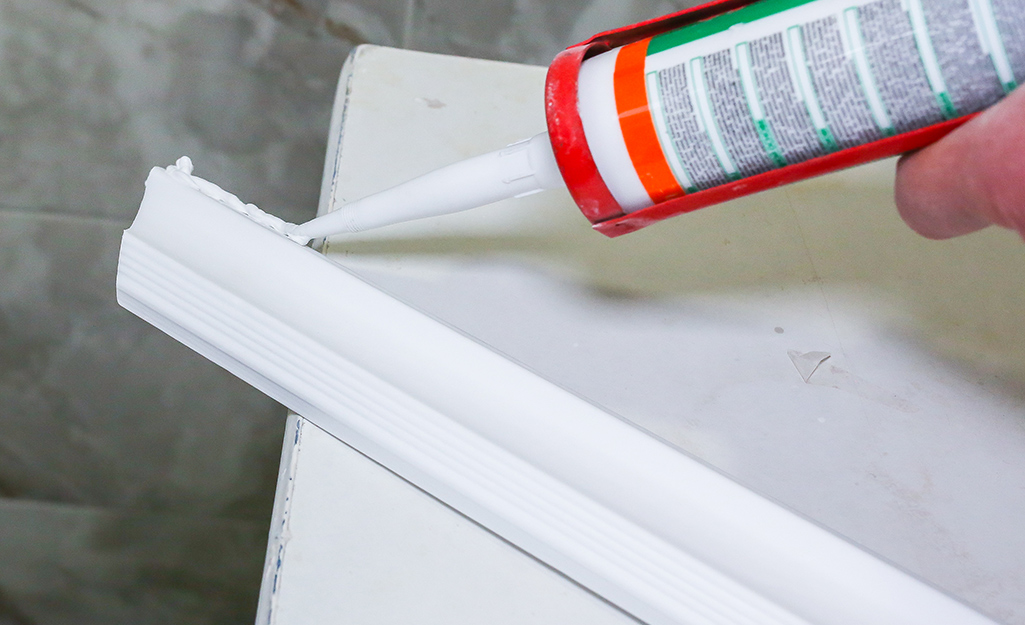
Touch Up Kit/Putty A touch up kit can be purchased from Prime Cabinetry when you order your cabinets. It is used to cover any small dings that occur during assembly and install and nail holes.
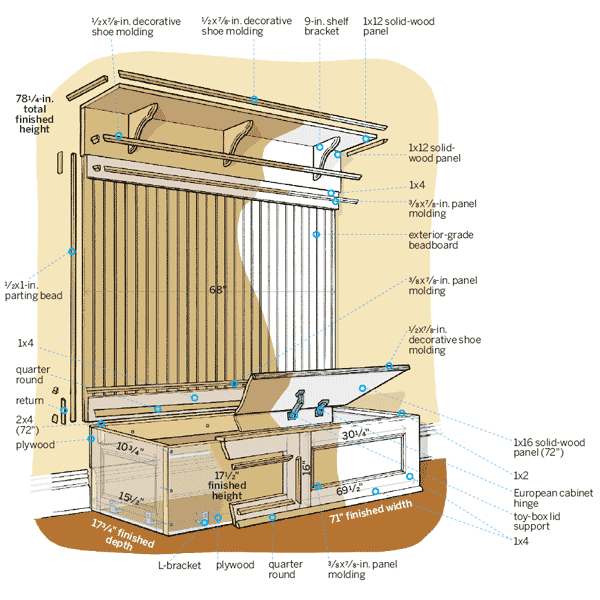
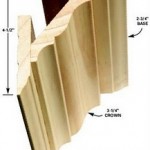
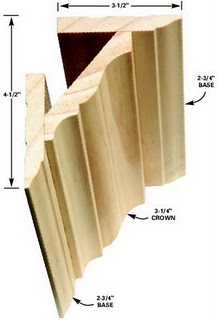
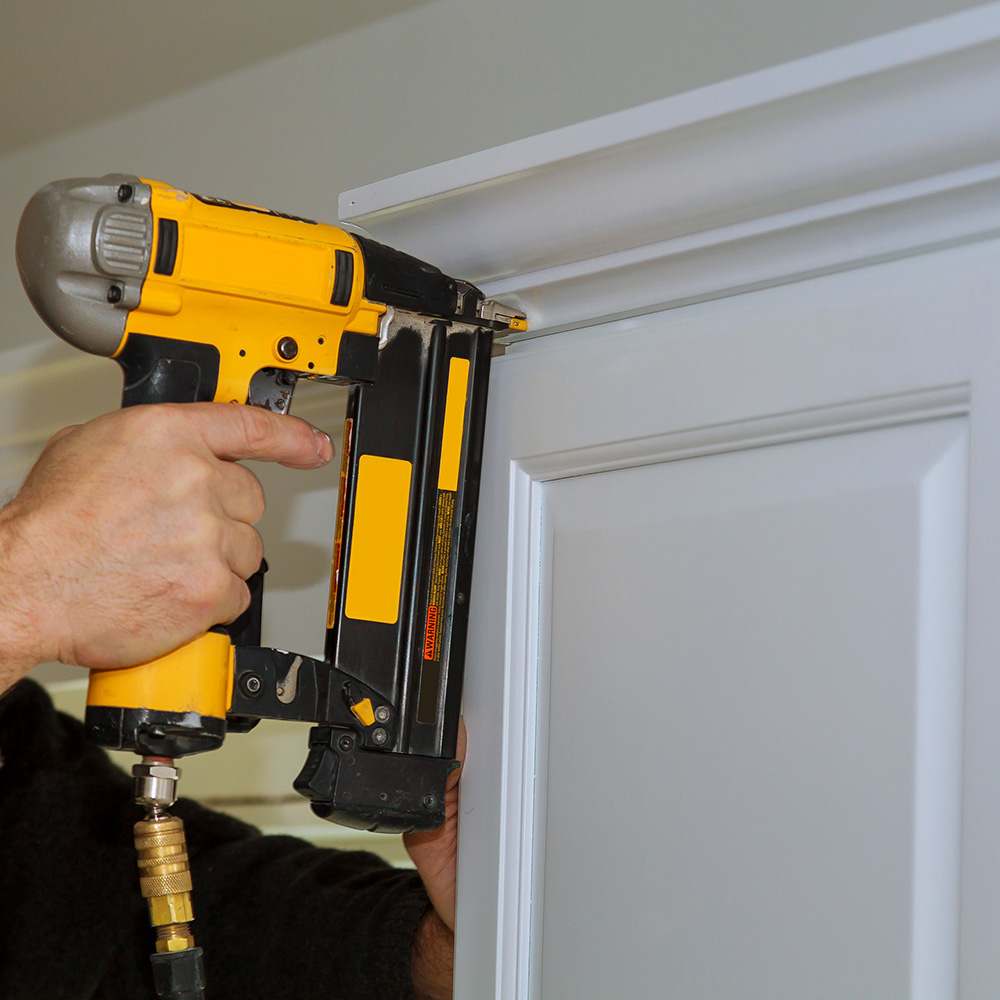
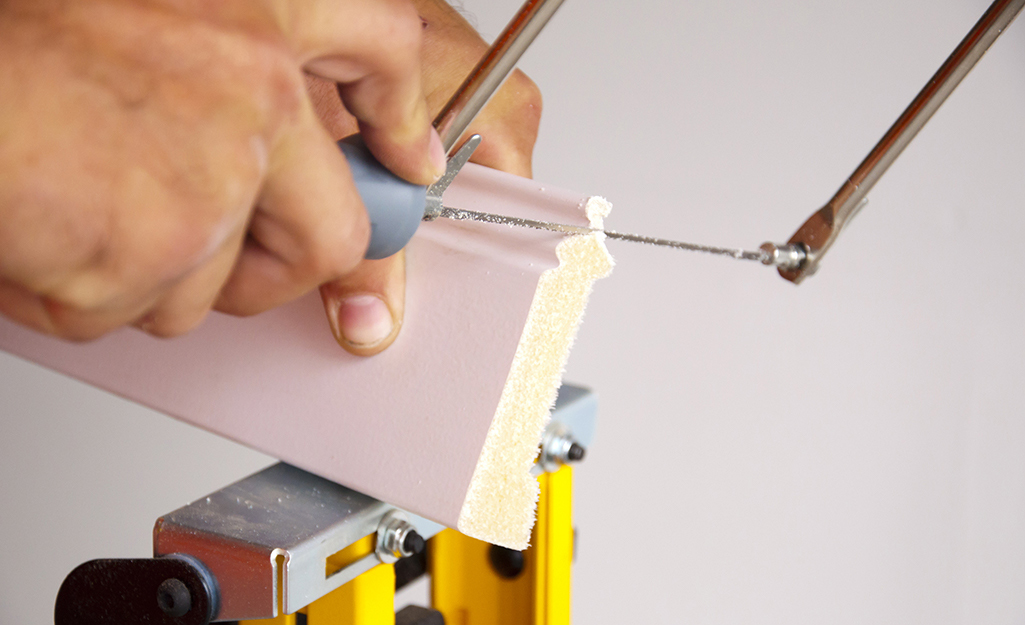
Trim Nailer A trim nailer is most often used to install crown molding, toe kick, scribe molding, light rail molding, base moldings, etc. You could use brads and a hammer but most installers would say this tool is a necessity for cabinet installation.
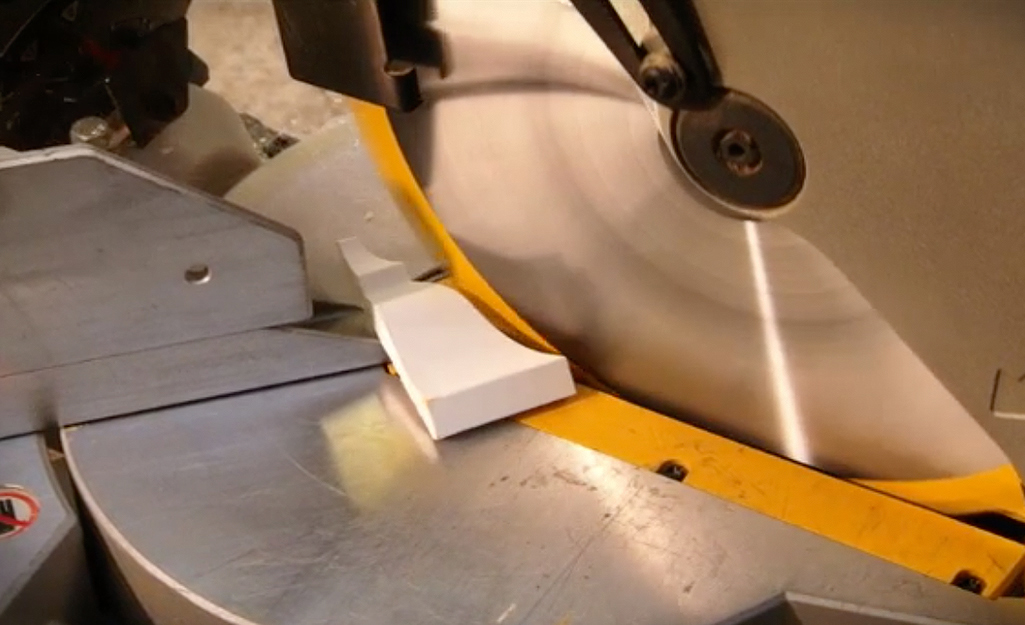
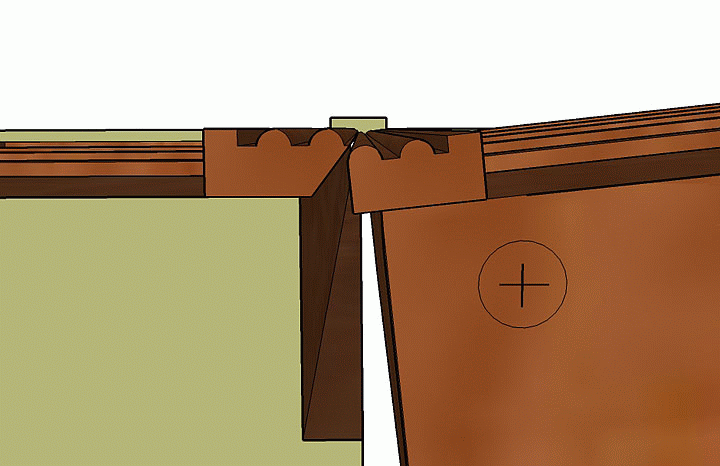
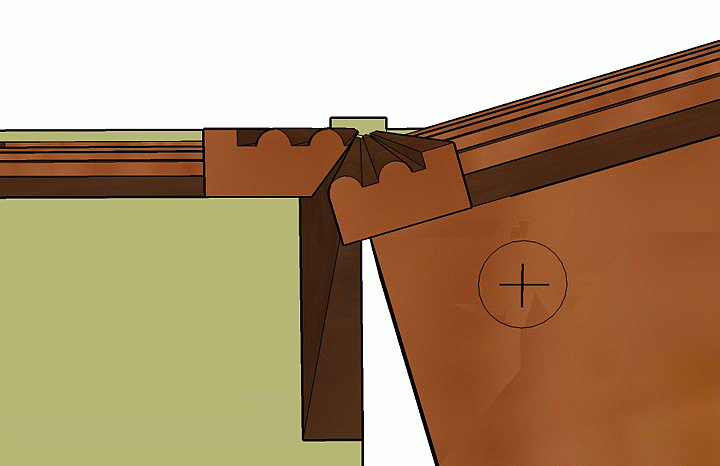
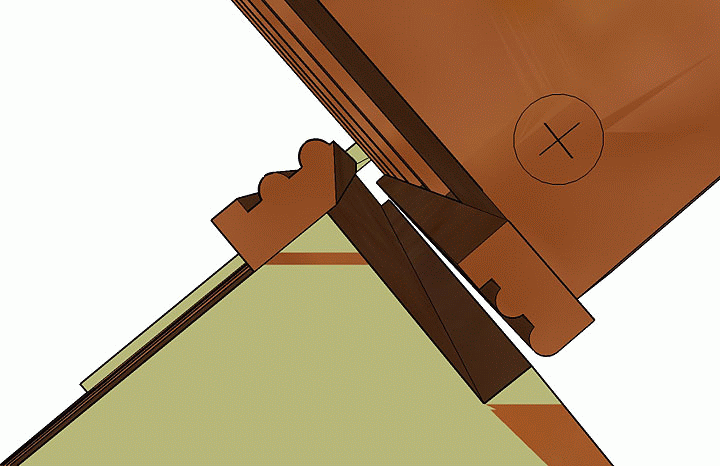
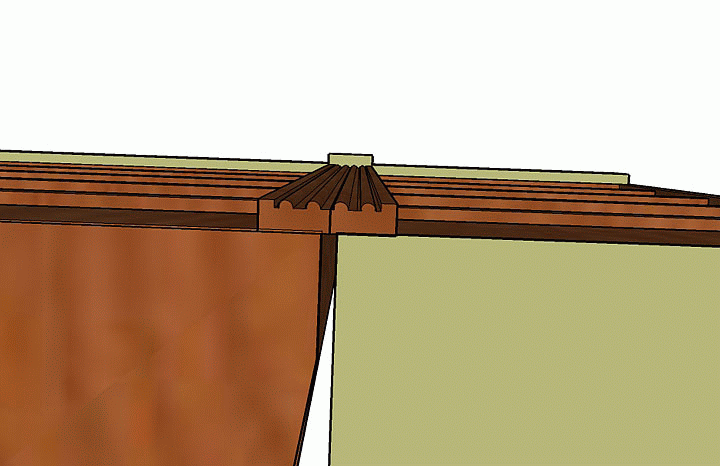
Miter Saw A miter saw is required to cut cabinet trim and crown molding at precise angles. It is also used to cut filler strips and some skin panels.
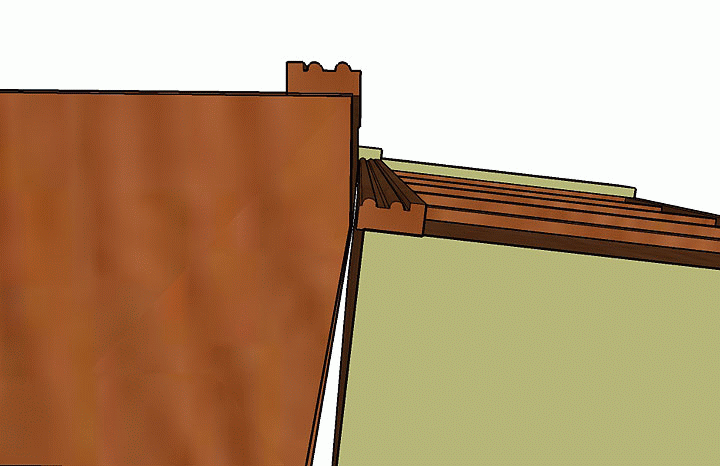
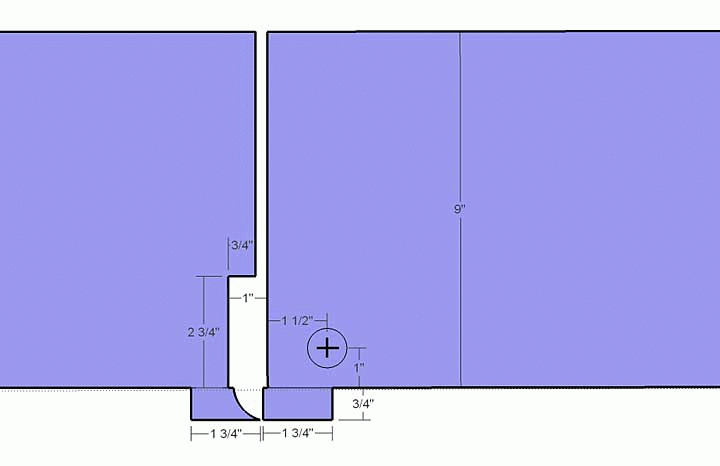
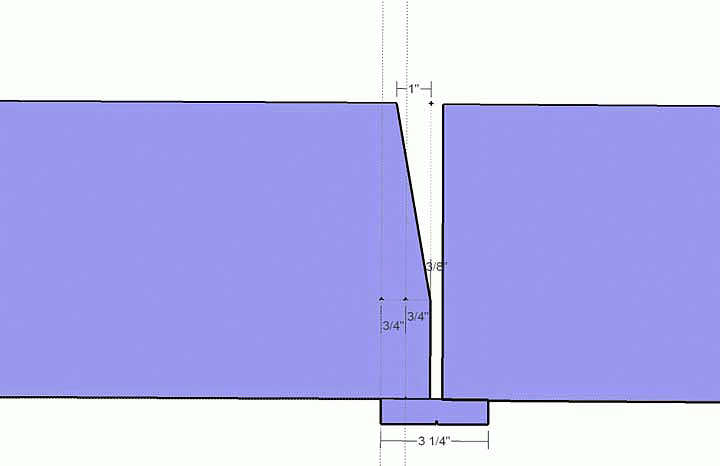
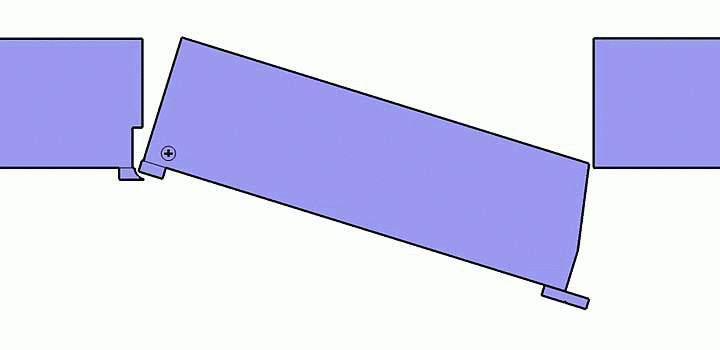
Wood Block A wood block is used for installing crown molding. When working with full overlay cabinets the ¼” reveal of the face frame is not enough for the crown to be nailed to. The wood block is installed first, then the crown is nailed to the block.
Table Saw A table saw is an electric woodworking tool with a circular blade mounted on an axel. The blade protrudes through the top of a table and provides support for the wood being cut.
Philips Screwdriver A screwdriver designed to to be used with a phillips-head screw. This type of screw has an X shaped top and is what we use most in our cabinet assembly.

Optional Tools

Tool or Supply Purpose/Reason for Tool or Supply
Jigsaw A jig saw is ideal for cutting curves and complex shapes into wood or drywall. For cabinet installation it is commonly used for cutting outlet and plumbing holes, modifying universal cabinets, making short crosscuts on a board, etc.
Cabinet Jack
A cabinet jack is made for holding upper cabinets in place while hanging. This is an ideal tool to have on hand if you are limited on manpower or are working alone. If you have a crew installing the cabinets one may not be needed.
Cabinet Hardware Jig A cabinet hardware jig is a great tool that helps you install your cabinet knobs or pulls to the doors perfectly every time. This tool is not required as there are other tricks out there to install your cabinet hardware but it is certainly useful.
Hearing Protection Avoid ear damage from saws and nailers. Noise reducing headphones or earplugs are nice to have because construction sites are always loud.
Shop Vac Anytime you are removing cabinets and sawing wood there is bound to be dust. A shop-vac is simply more durable for this type of use and with its five gallon size tends to clean debris best.
Wood Glue Wood glue is a great option for assembling your cabinets. However, it is not required for assembly because our cabinets are sold with the needed brackets and screws.
Staple Gun Staples and a staple gun is another great option for assembling your cabinets. However, it is also not required for assembly because our cabinets are sold with the needed brackets and screws.
Crown Moulding Jig A crown molding jig is used to simplify difficult inside and outside crown molding cuts. Angles are tough so this handy tool really helps you master mitered corners and other angles.
Multitool/Oscillating Tool A multitool is a power tool that oscillates allowing you to sand, saw, and cut different materials. It is helpful for a number of tasks with cabinet assembly and installation including trim cutting, grout removal, cabinet modifications, drywall cutouts, etc.
Shims Cabinet shims are slender pieces of wood, cut into a wedge shape, that are used as a solution for things like leveling base cabinets on an uneven floor or flushing side panels for decorative door application.

COVID-19 has brought unprecedented human and humanitarian challenges. Many companies around the world have risen to the occasion, acting swiftly to safeguard employees and migrate to a new way of working that even the most extreme business-continuity plans hadn’t envisioned. Across industries, leaders will use the lessons from this large-scale work-from-home experiment to reimagine how work is done—and what role offices should play—in creative and bold ways.

Before the pandemic, the conventional wisdom had been that offices were critical to productivity, culture, and winning the war for talent. Companies competed intensely for prime office space in major urban centers around the world, and many focused on solutions that were seen to promote collaboration. Densification, open-office designs, hoteling, and co-working were the battle cries.

But estimates suggest that early this April, 62 percent of employed Americans worked at home during the crisis,1 compared with about 25 percent a couple of years ago. During the pandemic, many people have been surprised by how quickly and effectively technologies for videoconferencing and other forms of digital collaboration were adopted. For many, the results have been better than imagined.

According to McKinsey research, 80 percent of people questioned report that they enjoy working from home. Forty-one percent say that they are more productive than they had been before and 28 percent that they are as productive. Many employees liberated from long commutes and travel have found more productive ways to spend that time, enjoyed greater flexibility in balancing their personal and professional lives, and decided that they prefer to work from home rather than the office. Many organizations think they can access new pools of talent with fewer locational constraints, adopt innovative processes to boost productivity, create an even stronger culture, and significantly reduce real-estate costs.

These same organizations are looking ahead to the reopening and its challenges. Before a vaccine is available, the office experience probably won’t remain as it was before the pandemic. Many companies will require employees to wear masks at all times, redesign spaces to ensure physical distancing, and restrict movement in congested areas (for instance, elevator banks and pantries). As a result, even after the reopening, attitudes toward offices will probably continue to evolve.

But is it possible that the satisfaction and productivity people experience working from homes is the product of the social capital built up through countless hours of water-cooler conversations, meetings, and social engagements before the onset of the crisis? Will corporate cultures and communities erode over time without physical interaction? Will planned and unplanned moments of collaboration become impaired? Will there be less mentorship and talent development? Has working from home succeeded only because it is viewed as temporary, not permanent?

The reality is that both sides of the argument are probably right. Every organization and culture is different, and so are the circumstances of every individual employee. Many have enjoyed this new experience; others are fatigued by it. Sometimes, the same people have experienced different emotions and levels of happiness or unhappiness at different times. The productivity of the employees who do many kinds of jobs has increased; for others it has declined. Many forms of virtual collaboration are working well; others are not. Some people are getting mentorship and participating in casual, unplanned, and important conversations with colleagues; others are missing out.

Read more at:

https://www.mckinsey.com/business-functions/organization/our-insights/reimagining-the-office-and-work-life-after-covid-19#

This article describes the creation of a built-in entertainment system using built-to-order Arthur Brown Face Frame bookcases and cabinets with custom trim used to trim it out and give it a built-in look. The bookcases and cabinets were made in a simple face frame style so that moulding could be chosen and added to fill in the gaps between the cabinets and the wall.

This particular home has a step-down family room with a raised opening in the wall, which isn’t exactly your typical situation. This made it all the more tricky, since the base of the opening is 12 inches off the floor and the top has a bulkhead that is 12 inches from the ceiling, leaving 7 feet of vertical space to work with. It is about 11.5 feet wide.

Step 1: Design of the Space and Ordering of Components

The project began by coming up with a design plan and then choosing bookcases and cabinets that would fit comfortably into the space without leaving too much space to fill on the sides and top. Since this was to be used as an entertainment system, there needed to be space for a large TV, speakers to the sides and above, media components below, and plenty of storage space for DVDs, books, and other items. The center bottom piece is a “CN4” entertainment console with a TV hutch above. The side pieces are bookcases with lower doors. Each piece has pull-out trays behind the doors. The center console section has a pull-out shelf so that a heavy receiver can be rolled in and out to make it easier to connect the wiring.

Step 2: Preparation of the Area

First, the wood flooring was removed from this area since it was no longer needed. Plus, the extra 3/4″ of space gained by removing the flooring made sure the 84″ tall bookcases fit in easily. The photo below shows two 30″W x 84″H x 24″D unfinished bookcases, which just barely fit into the space after having removed the flooring. The bottom section has pull-out trays and doors, but these were taken off so that they could be more efficiently painted. The other pieces were moved to another area for painting.

Step 3: Painting and Installation

All the pieces were painted and then positioned in the wall space, leaving some gaps between them, which will later be covered with mouldings.

Step 4: Installation of Wiring and Power Access

Before the pieces were permanently installed, it was necessary to run wires from where the media components go to where the speakers and TV will go. Holes were cut into the back panels and connector panels installed to enable wires to pass through from one piece to the next. Cables were connected to the backs of the panels so that some of the audio/video cables could be quickly and easily plugged directly into the front of each panel. Power was run to the bottom cabinet.


Step 5: Finishing the Installation of Doors and Accessories

The outer two bookcases were screwed to the side walls to ensure they do not move, while the center pieces were then screwed to the side pieces. On the floor, you can see the moulding that will be used to frame out the pieces and cover the gaps.

Step 6: Installation of Equipment

Equipment was installed in the entertainment console. At the bottom center opening is a battery backup/surge protector and receiver.A pull-out shelf was installed to make it easier to slide the receiver in and out while connecting cables. In the short open shelf above are the media boxes, such as a cable TV box, Apple TV, and Blu-Ray player.

Step 7: Installation of Moulding Around Frame

Unfinished moulding was then nailed to the wall and face frame of the bookcases and cabinets. In between each piece is a custom-built column consisting of several stacked pieces: a plinth block at the bottom, a piece of fluted column above, and a rosette at the top. In between the plinth blocks are flat pieces of Maple wood with upside down chair rail moulding added to its top. Above the cabinets is an inverted piece of base moulding was placed in between the columns. Finally, a piece of crown moulding was added at the very top.

Step 8: Painting of Moulding

The moulding had holes filled, caulk applied to any gaps, and was then painted so everything flowed seemlessly together. You can’t even tell which pieces are separate from each other. The first photo below shows the plinth block with fluted moulding stacked on top. To the side are flat pieces of wood with chair rail placed upside down on top. The second photo shows the rosette block at the top of the fluted moulding, with upside down base moulding on each side and crown above.


Step 9: Finishing Touches

Finally, everything is installed and plugged in. No more hole in the wall–it now looks completely built in! Inside the taller doors are pull-out trays for DVDs and other items.

The following Maple, Face Frame Crown style, white-painted entertainment system was put together using a combination of bookcases, a center entertainment console, and a bookcase bridge. Here is how this was put together to create a cascading wall unit with varying depths and heights.

Entertainment System

Entertainment System

The central piece is a CN4 entertainment console 84″W x 36″H x 24″D, painted white with raised-panel doors. It has deluxe base moulding that wraps around the sides and is mitered to meet the moulding on the adjacent units.

The piece above the TV is a BR2 bookcase bridge 84″W x 12″H x 16″D set above the other bookcases with deluxe crown moulding wrapped around each side.

The bookcases on each side are stepped back, with the first 16″D, then 14″D, then 12″D. They have deluxe crown moulding that is wrapped around to meet the bookcase next to it. The pieces next to the center have a mini-miter so that the crown moulding overlaps the face frame of the bookcase bridge. On the outer side, they have a partial wrap with a mitered cut to meet the moulding on the next piece. The next piece has an inside miter cut to meet that crown, and so forth. The result is a seamless flowing sequence of moulding that appears built-in and connected. In reality, these were ordered pre-built to fit the design.

Had the homeowner wanted to go all the way to the ceiling, we could have used base units with tall hutches, but since this is a very tall ceiling, it probably would have been overkill.

The diagram below was used to specify how everything would fit together.

Entertainment System Diagram

Entertainment System Diagram

AWB FFC Entertainment System

Entertainment System

Are you up to the task of building your own mudroom built-in system? If not, buy all the components you need from our storage components pages, or choose from our wide selection of cabinets, hutches and bridges to create a custom wall unit. If so, check out this article below with instructions on how to build your own.

Introduction

The second the sun goes away, out come the umbrellas and the raincoats and the Wellies. And with them a lot of messy wetness that can warp hardwood floors and stain your best rugs. Short of forcing your family to disrobe on the front stoop, your best bet is to create a stopping area just inside the door where everyone can leave the weather behind.

On the following pages, This Old House senior technical editor Mark Powers shows how to create the perfect catchall, complete with an open top shelf, coat hooks, and flip-top bench storage. This handsome entry hall built-in, made of plywood, shelf panels, and layered moldings, is sure to make your house more welcoming, even while protecting it from wear and tear. In fact, you may find it so convenient you’ll catch yourself stopping by even when the sun’s out.

How to build a mudroom system

How to build a mudroom system

Day-to-day Timeline for Building a Mudroom Bench

Friday: Build and trim out the seat box.
Saturday: Install the seat lid and beadboard panel.
Sunday: Assemble the shelf and paint the bench.

Cut List
(download plan here)

1×12 – 2 @ 72 inches
1×16 – 1 @ 72 inches
2×4 – 1 @ 68 inches
¾-inch plywood – 16 x 69½ inches
¾-inch plywood – 2 @ 16×15½ inches
Beadboard exterior grade plywood – 2 @ 4×4 feet
½ x 1 parting bead – 2 @ 48 inches
½ x 7/8 inch decorative shoe molding – 2 @ 72 inches
½ x 7/8 inch decorative shoe molding – 2 @ 12 inches
½ x 7/8 inch decorative shoe molding – 2 mitered returns
3/8 x 7/8 inch panel molding – 2 @ 72 inches
3/8 x 7/8 inch panel molding – 4 mitered returns
3/8 x 7/8 inch panel molding – 16 scribed to size
quarter round molding – 2 @ 72 inches
quarter round molding – 4 mitered returns
1×4 – 2 @ 72 inches
1×4 – 4 mitered returns
1×4 – 7 @ 16 inches
1×4 – 4 @ 10¾ inches
1×4 – 4 @ 30¼ inches
1×2 – 2 @ 15½ inches
1×2 – 1 @ 69½ inches

See the rest of the story at:

http://www.thisoldhouse.com/toh/how-to/intro/0,,20301255,00.html 

Crown Moulding

Crown Moulding

Crown Molding Basics

Crown molding is a decorative trim piece the sits on an angle, and is used to cover transitions between surfaces for decoration. It is installed where the walls and the ceilings meet, but it can also be used to fill the gap between the top of a bookcase or cabinet and the ceiling. They can either be plain or sprung.

Crown is typically made from solid milled wood or plaster but may be made from plastic or reformed wood. Installing crown molding to a room instantly adds an aesthetically pleasing and classy look.


Varieties of common moldings include:

  • Crown
  • Cove
  • Astra-gal
  • Bead molding
  • Bed molding
  • Dentil
  • Scotia

Installing crown molding, is one of most important architectural elements used to define interior spaces. Most of today’s interior designers agree that every room benefits from the use of crown molding treatment.

The installation of molding smooths the transition from wall to ceiling or bookcase to ceiling and defines the architectural style of a room. The size and style of crown molding used may vary widely, from a simple coves in a farmhouse kitchen to large built-up cornice in a grand entryways.

The size and style of molding used may vary widely, from a simple coves in a farmhouse kitchen to open top crown with rope lighting to large built-up cornice in a grand entryways.

Here are detailed drawings for a nifty swinging-bookcase hidden door. by Gary M. Katz.

I drew this detail of a hidden bookcase door swung on a Rixson pivot hinge. It works easily. I was asked to show how the trim would work/look for a fluted-casing/rossette detail. I forgot to include the plinth blocks, but they’d be split, too. I was also asked how a swing-in book case might work, and whether an offset Rixson hinge would work. Those drawings are included at the bottom of the page.

Bookcase Front View

Bookcase Front View

Front view (above)

Bookcase Front View Open

Bookcase Front View Open

Front view opening (above). Pivot case just clears head casing. If the bottom of the pivot door isn’t swinging over a hard surface level floor, then a toe-kick should be added to the bottom of all the units and the case should pivot above the toe kick.

Front View Opening

Front View Opening

Looking close at the top head casing: Leave a 1/16 – 1/8 in. gap between the head casing and the top of all cases. Install a small 1/2 in. ogee nosing on all top shelves, but hold it down 1/16 in. everywhere, on flanking cases, too, so it will cover the head gap but not interfere with the swing.

Bottom View

Bottom View

Bottom View (above), case just beginning to open. Split in casing must be located precisely where bead meets fillet. I’d cut a test piece first, about six inches long, tack each side to the cases and open the door a few times… all the way.

Bottom View Beginning to Open

Bottom View Beginning to Open

Casing opening a little more (above).

Casing Opening a Little More

Casing Opening a Little More

Casing clears flanking case, but not by much (above).

Casing clears flanking case, but not by much

Casing clears flanking case, but not by much

Bottom view with case swung to 90°

Bottom view with case swung to 90°

Bottom view with case swung to 90° (above).

Strike side viewed from top

Strike side viewed from top

Strike side viewed from top (above).

Strike side, viewed from top and opening out.

Strike side, viewed from top and opening out.

Strike side, viewed from top and opening out (above).

Plan View, with hardware layout and trim dimensions on hinge side.

Plan View, with hardware layout and trim dimensions on hinge side.

Plan View, with hardware layout and trim dimensions on hinge side.

Plan View: Strike side with clearance dimensions.

Plan View: Strike side with clearance dimensions.

Plan View: Strike side with clearance dimensions.

Strike side requires 1 3/8 in. clearance

Strike side requires 1 3/8 in. clearance

Strike side requires 1 3/8 in. clearance

Rixson Center Hung Pivot.

Rixson Center Hung Pivot.

The hardware in the example above is a Rixson Center Hung Pivot. A Center Hung Pivot is the only type of pivot hinge which isn’t visible. There are several grades of Center Pivots. I’ve used the Model #370 frequently for doors of many sizes. It’s rated up to 500 lbs. But for a heavy bookcase, the H117-3/4 will support up to 1,000 lbs. Dorma also has a line of pivot hinges. Often they’re less expensive than Rixson hinges. I’ve used several Dorma pivots, including the CP440 (440 lbs) and the CP 660 (660 lbs).

Swing In Bookcase on Center Hung Pivot

Swing In Bookcase on Center Hung Pivot

Swing In Bookcase on Center Hung Pivot

Swing In Bookcase on Center Hung Pivot

Swing In Bookcase on Center Hung Pivot

You can reposition the pivot but no matter where it’s located, the strike side of the case is going to hit the other case, which requires a beveled or stepped construction.

The step in the 'jamb' case would have to be about 1 1/4 in.

The step in the ‘jamb’ case would have to be about 1 1/4 in.

The step in the ‘jamb’ case would have to be about 1 1/4 in.

And no matter where the center hung pivot is located, the hinge side would hit its flanking case, too.

And no matter where the center hung pivot is located, the hinge side would hit its flanking case, too.

And no matter where the center hung pivot is located, the hinge side would hit its flanking case, too.

Not by much, but enough to require a step in the construction of that box, too.

Not by much, but enough to require a step in the construction of that box, too.

Not by much, but enough to require a step in the construction of that box, too.

Swing-in Bookcase on Offset Pivot Hinge

Swing-in Bookcase on Offset Pivot Hinge

Swing-in Bookcase on Offset Pivot Hinge

Swing-in Bookcase on Offset Pivot Hinge

Swing-in Bookcase on Offset Pivot Hinge

The offset hinge would work even better on a swing-in case. The front hinge-side edge wouldn’t hit the casing or trim on the front of the units. And the back would clear without cutting a bevel or step into the flanking case.

But the strike side would still hit.

But the strike side would still hit.

But the strike side would still hit.

But the strike side would still hit.

The step in the strike-side flanking case would have to be about 1 1/4 in.

The step in the strike-side flanking case would have to be about 1 1/4 in.

The step in the strike-side flanking case would have to be about 1 1/4 in. (it actually measures 1 1/16 in. so 1 1/4 in. should clear for sure, but I’d mock up the hardware and check that before building the cases).

Reprinted with permission from Gary Katz Online, a comprehensive educational community devoted to trim carpentry, finish carpentry, and architectural millwork, and hosted by nationally recognized author and finish carpentry specialist Gary M. Katz.
– See more at: http://www.woodweb.com/knowledge_base/HiddenPivot_Bookcase_Door.html#sthash.pdqJzgQ6.dpuf

October 5, 2006
Eight Rooms, Well, Nine, but That’s Their Secret

By MATTHEW SUMMERS-SPARKS
Winnetka, Ill.

ON a recent Saturday morning Cami Beghou, 13, pushed the right side of the tall, white bookcase that is built into one of the powder-pink walls in her bedroom. The bookcase, holding rows of books, a stuffed dachshund and a volleyball, silently swung outward, revealing a tiny, well-lighted room. Containing a desk, a chair and a laptop computer, it serves as her study area.

Cami Beghou swings open a bookcase to reveal her study area.

Cami Beghou swings open a bookcase to reveal her study area.

Cami, an eighth grader, considers the hidden room the best thing about her family’s five-month-old French colonial-style house in this Chicago suburb. “When I heard that I could have a secret room, it sounded like so much fun,” she said, noting that the room initially conjured images of secret passages from Scooby-Doo cartoons. “My parents told me, ‘You could just put curtains over the doorway,’ but that wasn’t nearly as cool.”

Since March, when the Beghous moved into the house, Cami estimates that she has had about 30 friends over. Not one was able to detect the bookcase’s secret without guidance. “Most people don’t even recognize that it’s there,” said her father, Eric Beghou, who owns a consulting company with his wife, Beth. “When the home inspector came by to examine the house, our builder shut the bookcase, hiding the room. The inspector went up and down the stairs a couple times — he knew that something was unusual — but he couldn’t figure out what was there.”

Soon, however, inspectors and other guests may get wise to hidden rooms like the Beghous’. Although hard data is not available, architects report an increase over the last five years in the number of clients installing concealed rooms.

During roughly the same period, at least four companies have come into existence producing doors that range from the very basic to the highly mechanized.

The Beghous’ architect, Charles L. Page, who is based in Winnetka, said he had designed seven other houses with hidden rooms since 2001, after designing none in his previous 40 years as a residential architect.

“Absolutely, there has been an increase,” said Timothy Corrigan, an architect and designer in Los Angeles, who noted that he has been practicing for 12 years but was not asked to design a secret room until four years ago. Since then, he has created five.

Although highly fortified rooms have become more widespread — and the idea reached a large audience with the release of “Panic Room,” a 2002 movie that starred Jodie Foster — many of those adding hidden rooms are more concerned with creating a sense of wonder than defending against a home invasion. “I think people like the mystery of them,” Mr. Corrigan said.

One popular trick is to hide a room behind a bookcase that looks like a standard built-in but is equipped with hidden hinges, rollers and handles, as at the Beghous’ house. Contractors can either build the bookcases themselves or buy a piece from a growing collection of companies, including Niche Doors, the Hidden Door Company, Hide a Door, Secret Doorways and Decora Doors. Prices range from about $800 for the most basic models to more than $10,000 for custom-made versions.

Steven Humble is the owner and chief engineer of Creative Home Engineering, a two-year-old business in Tempe, Ariz., that specializes in mechanized doors that conceal rooms or safes. He echoed others in the business in saying that his customers are evenly split between those who plan to use their hidden rooms for security (either to hide valuables or to hide themselves in an emergency) and those who just think they are “really cool.” His company has built about 25 customized doors, bookcases, safes and assorted pieces, for new and remodeled homes, including a fireplace with a rear wall that swings open to reveal a room beyond, for a house in Arkansas. Prices run from about $5,000 to $25,000.

Last month Mr. Humble installed a pair of hidden doors in a house in a town north of Sioux Falls, S.D., for ABC’s “Extreme Makeover: Home Edition.” “Whether it’s for home security or people’s images of living like James Bond, it seems to be something people respond to,” he said.

Louise Kircher raises the staircase in her home in Mesa, Ariz., to reveal the secret room behind it.

Louise Kircher raises the staircase in her home in Mesa, Ariz., to reveal the secret room behind it.

James Bond, or Herman Munster. When Louise Kircher, a retired teacher, and her husband, Dennis, a former accounting manager at Boeing, moved into their year-old, 4,300-square-foot contemporary home in Mesa, Ariz., in January, the staircase in the master bedroom was “something extra that came with the house,” Mrs. Kircher said, and reminded them of something out of “The Munsters.” It rises to reveal a hidden room, where she and her husband store an antique bedroom set and a replica of a gilded mummy’s coffin. “The ceiling is only five and a half feet in there,” she said. “I think it would make a great playroom for grandkids.”

Secret rooms speak to the homeowner’s sense of playfulness and perhaps to something deeper. “When we started the company we thought we were going to only attract eccentrics,” said Krystal Strong, co-owner of Hide a Door in Humble, Tex., whose doors’ average cost is $1,600. “But I think everybody is on the eccentric side; they want to make their home unique.”

To Sarah Susanka, a residential architect based in Raleigh, N.C., and author of “The Not So Big House,” a hidden room is “a way to individualize your house.” She said, “For a house to feel like a home, people have to put more of themselves in their house.” She remembered a woman in St. Paul who asked for a room hidden behind the rear wall of a closet. “She said she wanted a secret room for her art studio,” Ms. Susanka said. “She was a very introverted person, and she had to hide in order to let this expressiveness out.”

A concealed room can also function as a direct passage to childhood memories. When David Lee and his wife, Daphne, moved into their house in Plano, Tex., in March, they found themselves with too many unused bedrooms. Mr. Lee set up a workroom with tools, a computer and a workbench in one of the empty rooms. But it did not take long for the couple to decide to install a bookcase door, at a cost of almost $2,000, and turn the space into a secret room. “I always wanted one,” he said, “since watching Scooby-Doo way back when.”

David Lee of Plano, Tex., got a bookcase door to hide the mess of his workroom, but also because he had wanted a secret room, he said, “since watching Scooby-Doo way back when.”

David Lee of Plano, Tex., got a bookcase door to hide the mess of his workroom, but also because he had wanted a secret room, he said, “since watching Scooby-Doo way back when.”

Hidden doors have their complications. Cami Beghou said that while the books stay put when she opens her bookcase door, the volleyball once rolled off, and she generally leaves the door open unless she is expecting company. Jon Coile, chief executive of a Maryland realty company, said that he has had some problems with the magnetic latch on the bookcase door at the house he shares with his wife, Wendy, in Crownsville, Md., and that they secure the objects on the shelves to make sure they stay put.

Ray Sullivan, a manager with a financial services organization based in Phoenix, has two hidden doors in his house and is working on a third. But he ran into a potential problem. One of the doors, a motorized bookcase, can be opened either by using a remote control or by knocking in a particular rhythm. “One time I accidentally left the remote on the other side of the door and forgot the knock code,” Mr. Sullivan said.

Fortunately for him, the hidden room has another entrance, so he took a circuitous path to get back in. He has since memorized the knock sequence. “It’s one of those things you do once, hopefully, like locking your car keys in your car,” he said. “After you do it, you won’t do it again for a long time.”

For Mr. Coile, building a home with a secret room was a once-in-a-lifetime opportunity. Behind a bookcase in the library of his house is a compact spiral staircase that connects to an upstairs writing area overlooking the library and to a downstairs home theater as well as to a nondescript room with a view into a bar through a one-way mirror.

They have shown the setup to so many friends that its secrecy has evaporated, which Mr. Coile said is fine with him.

“What use does this have?” he said. “Absolutely none. My builder’s eyes rolled back in his head when I told him I wanted a secret room. What can I say? I watched too many Disney movies when I was a boy.”

installing a window seat

Custom Window Seat Installation

I recently made a custom window seat for this window alcove.  [photo above] The customer originally had a bench in this spot but wanted something more permanent with storage.  We decided installing a window seat with a hinged lid was the best option.

Measuring and making this window seat was done earlier and in my shop, this post is only the installation portion of the finished window seat.

Preparing the space:

The first step involved with installing the window seat was to carefully remove the existing baseboard trim.  I decided that I was going to save the old trim so that it matched trim in the area.

I used a utility knife to cut the baseboard caulking seams and a scrap block and pry bar to gently pry the baseboard off the wall.  The scrap block of wood is placed against the plaster wall to prevent damage from the pry bar.

Installing the box:

I purposely made my window seat box a few inches narrower than the opening.  I did this so I wold not have to fit it to fit.  the front panel was made larger and will be scribed to fit wall to wall.

Using a level and shims, I make sure the window box sits level in its resting spot as well as centered in the opening.  I located the wall studs and pre-drilled and counter sunk 2 1/2″ screws through the box and into the studs.  I try to keep my screws up high, under the hinge rail, to hide them.

As much as I hated to, I also installed two screws in the bottom front of the window seat box and into the hardwood floor.

Installing the front panel:

I checked the floor which was level and both side walls, which were plumb.  I was lucky because that meant minimal scribing.

I place the edges of the panel to the walls to see how they would sit and they looked really good, so instead of scribing I measured side to side, added 1/16″ of an inch and then cut my panel to that measurement with 30 degree bevels on both ends.

The bevels allow the panel to slide into place without a fight, but with the sharp point of the bevel tight to the walls.  The top portion of the bevel is also hidden by the seat frame, so I had no worries of an exposed cavity.

Once I had the window seat front panel in place, I applied Gorilla wood glue and then secured the panel with finish nails.  I used my Paslode cordless finish nailer for this project.  I have to say that this was not an easy spot in the house to get to and dragging a compressor and hose would have been torture.

installing a window seat

Installing The Window Seat Lid Top:

I pre-assembled the lid and frame in the shop. On site, I installed the lid top similar to the front panel by scribing to the walls.  I also use a back bevel to get a super tight fit to the walls.

I secured the lid frame to the box frame with glue and finish nails. Once this was complete, I installed a piece of decorative molding along the top edge of the front panel located just under the window seat lid.

Lastly, I reinstalled the baseboard, used wood filler at all exposed nail holes, sanded flush, vacuumed up and notified the painter.

The post Installing A Window Seat appeared first on A Concord Carpenter.

By Robert Robillard
Bookcase and Mantle

Installation

This post provides an example of how to install a bookcase, fireplace mantel and the panel above the mantel.

Earlier we prepared the blue stone fireplace mantel and brick corbel supports in order to install a shorter mantel to accommodate a flat screen TV. A new Somerset Mantel will cover and hide the torn off corbels and a larger panel will cover the exposed brick.

In order to get the panel to cover the brick we had to fur out the wall above 3-1/2″ to match the face of the brick. We used 2×4 lumber on edge and Timberlock type lag structural screws to lag the studs to the wall.

We took care to install all of the lags in the same spots on each stud.

The measurements were then recorded for when the TV wall mount is to be installed. There is nothing worse than drilling into a brand new piece of custom work and hitting a screw or lag.

Planning For A Flat Screen TV:Installing A Custom Bookcase And Fireplace Mantel

The electrician ran all of the HDMI, cable and power wires and we fished them to the top of our furring strips for easier access later. He will come back and mount boxes for all of the connections. These boxes will be hidden by the TV.

We purposely designed the new bookcase 3/4″ smaller than the one we were trying to match. We did this so we could fur out the wall behind the bookcase to accommodate future speaker or audio visual wires.

Prior to installing the bookcase we also cut out a rectangular slot in the base cabinet to make getting wires from the base cabinet to the rear of the bookcase.

Installing The Fireplace Mantel:

After furring the walls we set the mantel in place. We attached 3/4″ birch plywood scraps to the face of the brick with 2-1/2″ Tapcon screws. The plywood scraps will allow us to nail the mantle to the fireplace.Installing A Custom Bookcase And Fireplace Mantel

Both base cabinets had return molding touching the brick so we had to cut the mantle profile out in this molding.

We used a Japanese saw, utility knife and a sharp chisel to carve out the molding and then slid the mantel down.

With the mantle in place we cut installed the panel. Typically a panel this size would have been done as three smaller panels but it was decided that it would be better to have one panel since a large TV was being installed. The panel sits on top of the mantel shelf and was attached with finish screws.

Installing The Bookcase:

The bookcase was then installed. I purposely made the far right side of the bookcase trim larger to accommodate for an uneven or plumb wall. We scribed the wall and used a jigsaw to cut a bevel cut. Bevel cuts help the unit slid in place and are also a lot easier to make miner micro adjustments with a hand plane.

Once the bookcase was in place we secured it through the left side into the panel stud and along the top of the case, and through the back panel on the far right side. Pre-drilling and counter-sinking are important and We filled the screw holes when done.
Installing A Custom Bookcase And Fireplace Mantel

All nail holes are then filled and sanded, the entire project is vacuumed and then we caulked the seams. We then installed the shelves and re-installed the existing crown molding that we had saved.

Installing A Custom Bookcase And Fireplace Mantel

Installing A Custom Bookcase And Fireplace Mantel