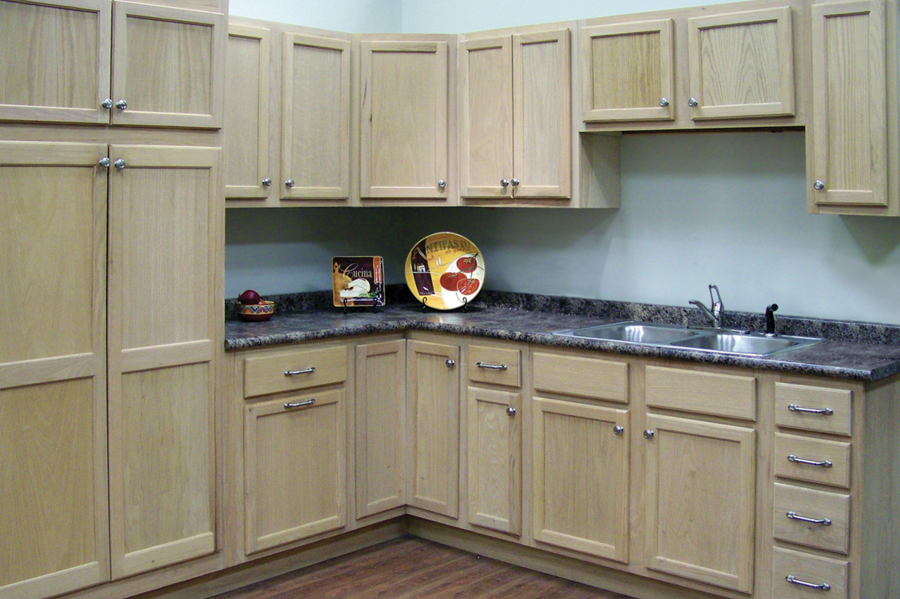
This post describes the steps needed to paint or stain unfinished cabinets or bookcases, which you can order online on our website to save money and get the custom finish you want.
1. Remove the doors and drawer fronts
Mark them with a number or location, so you know where each cabinet door or drawer front goes when you complete the job. Remove the hinges and hardware with a screwdriver. To remove the drawer front, take a screwdriver, and remove the screws from the back of the wood panel.
2. Prepare the surfaces
Unfinished cabinets might have some unfilled nail holes or imperfections, so they may need a little wood putty. If you plan to stain, use a stainable putty. If you plan to paint, a white putty would be good. You might need to lightly sand and prepare the surface before applying your first coat of stain or paint.
Most manufacturers will have already done the majority of sanding. Some light sanding with fine-grit sandpaper (about 200-400 grit) will help you get the smooth finish you desire. If the surface is not already smooth or you have to remove imperfections, start with 120 grit sandpaper and then switch to a more fine grit. As you start to prep your drawer fronts and cabinet doors, there are a couple of things you’ll want to focus on:
- Wear protective glasses and a mask to protect you from getting the fine sawdust in your eyes or lungs.
- Always sand with the grain, whether it’s vertical or horizontal.
- Sand gently by hand. You’re trying to get a clean, smooth finish.
- If you prefer to use a powered hand sander, be very careful. You don’t want to sand unevenly or leave some indents or scratches on your door surface.
- Make sure you wipe off all the wood dust on the cabinet doors and drawer fronts once completed. Wipe the cabinet components with a damp cloth to remove any dirt or debris.
- Each time you sand the panels, use a hand vacuum and a tack cloth to remove the dust left over from sanding.
3. Choose a finish or paint color
Choose a finish color for your cabinets and drawer or enhance the natural pattern in the wood grain with a colorless polyurethane finish.
- Leave your existing wood unfinished: If you like the current natural wood color of your cabinets, you could apply a finish without painting or staining them. A colorless polyurethane finish protects your wood cabinetry from moisture and stain damage.
- Complement the color of your rooms: Most kitchens and bathrooms are monochromatic for a clean, modern look. You can add a mix of colors to change up the look of your living space. Consider making your cabinet doors a contrasting color to your cabinets. You could also choose different colors for high and low cabinets.
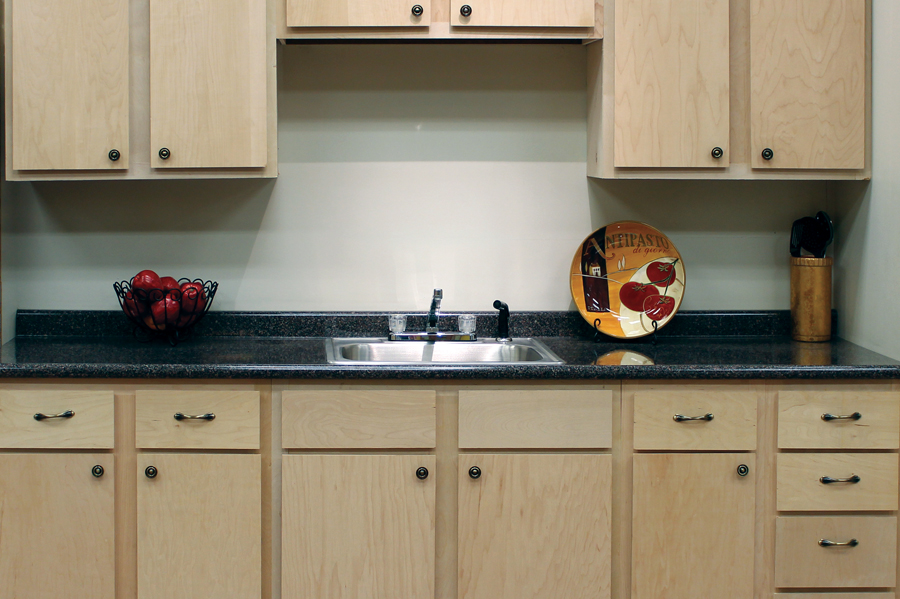
- Choose between natural wood or a different paint color: One natural wood panel is different from others that look like it. If you’d rather have a bold, uniform look, use any color paint you want on your wood cabinet doors and drawer fronts. White cabinets add a modern, clean look to your bathroom or kitchen. Before you choose a paint color, check the paint’s label to find out if you can use it on wood.
- Consider the texture of your finish: You could choose between matte, semi-gloss and glossy. A matte finish creates a more opaque appearance. A glossy finish adds a reflection to your wood cabinet doors and drawer fronts. How you want to stain unfinished drawer fronts depends on your style.
4. See below for details about painting or staining.
What is the best way to paint unfinished kitchen cabinets?
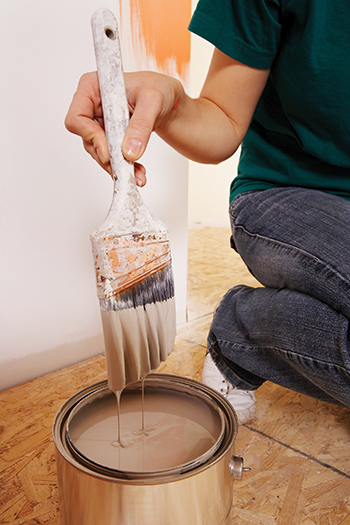
The best way to paint kitchen cabinets is with a paintbrush and a small roller. Spray painting is also an option if you want the process to move more quickly, but it can be tricky. Done improperly, you can have thicker spots that will not sand evenly or thin spots where the paint does not evenly cover the surface.
Start by removing all of the hinges, hardware, doors and drawers from your cabinets. Label each door with masking tape so you’ll remember which one goes where and put all of the hardware in plastic bags so you don’t lose anything. If you can fit a worktable in your kitchen, it will be much easier to paint the doors. 2×4 wood boards propped on buckets, boxes, or work horses will also do. If you don’t have those materials, work on top of a drop cloth.
You’ll want to prep all of the doors and drawers properly to ensure your paint will stick. Start this process by scrubbing your cabinets to get rid of any grease or residue. If you’re planning to use new hardware, cover the current holes with wood filler. Next, use 100-grit sandpaper to make all of the surfaces smooth and make sure to wipe away any dust with a tack cloth before drilling your new holes. To ensure a nice finish, use caulk to fill in any gaps or seams.
If you want professional-style results, it’s imperative to prime the boxes, door fronts and drawers before you begin painting. Once your primer has dried, use an angled brush and a mini foam roller to apply your paint. A latex satin finish works well on kitchen cabinets and it isn’t as hard to work with as oil paint. Start working in sections with your angled brush and go over your work with the roller for a perfect finish. When you’re done painting, you can also use very fine grit sandpaper for a final sanding and even a coat of a satin polycrylic for extra durability as well. Once your paint has dried, reinstall the doors and drawers and install your hardware.
Spray paint is another option for painting kitchen cabinets, but this process is best done outside or in a designated workspace so you don’t have to worry about overspray. If spray painting your cabinets, you’ll follow the same process as above but instead of working with a paint brush and roller you’ll use spray paint instead.
What is the best way to stain unfinished kitchen cabinets?
There are liquid and gel-based stains. Liquid stains are applied similar to how you paint. Start by sanding and conditioning the wood, then apply the stain with a bristle or foam brush. After that’s dry, put on two coats of polyurethane and your cabinets will look just as good as any professional could have done for you.
- After sanding, apply a wood conditioner to seal the wood and allow it to better accept the stain.
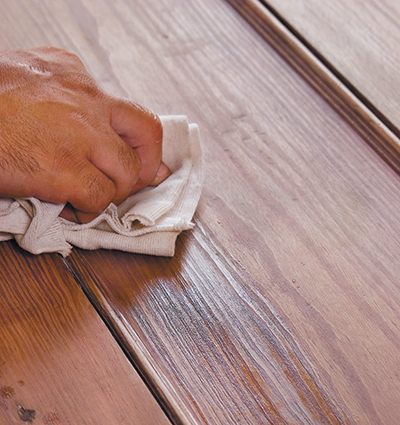
- Apply liquid stain with a bristle or foam brush or a rag.
- Use a rag to work stain down into the pores of the wood.
- Make a final pass working in the grain of the wood.
- Once the stain has dried, lightly sand again with a very fine sandpaper.
- Apply a clear polyurethane top coat with a brush, taking care not to brush too quickly, which could create bubbles in the finish. Use an oil-based polyurethane with an oil-based stain or a water-based product with water-based stain.
- Once the polyurethane has dried, lightly sand again with a very fine sandpaper.
Gel Stains
Instead of a traditional liquid stain, try a gel stain, which is thick like pudding. Gel stain is applied to the surface of the wood but not rubbed-in like traditional stains; the application is more comparable to painting on multiple thin layers.
- While gel stain does go on thick and sit on the surface of the wood, I found that you can still see and feel the natural wood grain beneath, unlike paint.
- Gel stain will not require you to sand the product to a raw wood finish. It can be applied over only lightly sanded pieces just as well.
- The condition of the wood does not play as big of a role in the finished result of the gel stain. For instance, the knots in your knotty pines will look less pronounced when the job is done.
- Gel stain is more forgiving. Because you will need to do multiple coats, you can even out the finish over time.
- The first coat of stain is an important one. Specialists and makers of the product advise one to apply a thick first coat — so thick that you could theoretically finger paint in it. Do not wipe it clean like you would a normal stain, but also do not leave it so heavy that it is inclined to drip. Wipe the excess gel off with a rag after it has had time to soak in.
- Apply 3-4 coats of gel stain. Each coat of stain needs about 24 hours to dry, so plan accordingly. Continue doing daily layers of stain in the same way until you can no longer see streaks in the finish.
- Once the final coat of stain is dry, you may want to apply a polyurethane finish to seal the stain. Roughly 1-2 coats will do.